Aloft Forums
You are using an out of date browser. It may not display this or other websites correctly.
You should upgrade or use an alternative browser.
You should upgrade or use an alternative browser.
Sunset 2025 Builds
- Thread starter Red
- Start date
Yotaman1985
Very Strong User
Elevator servo going in... 

thenated0g
Moderator
Ahh the old brick on a socket trick
thenated0g
Moderator
I have a little plastic bottle of BB's for my BB gun that's a really good weight and almost the right diameter i use quite a lot for that
Yotaman1985
Very Strong User
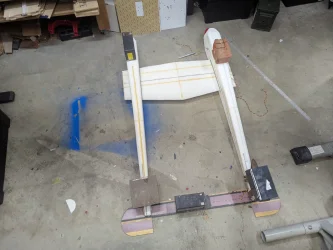
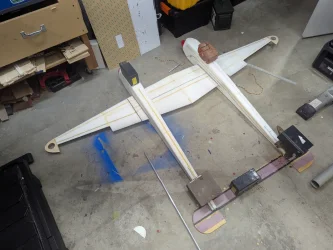
Nice, that sounds like it would work well. I spent probably 15 mins trying to figure out how to hold the servo in while having the tail hang off the table so the elevators could be installed while it cured. Note the tin and bag of lead holding the vertical on the table... LolI have a little plastic bottle of BB's for my BB gun that's a really good weight and almost the right diameter i use quite a lot for that
My random solution worked though
Yotaman1985
Very Strong User
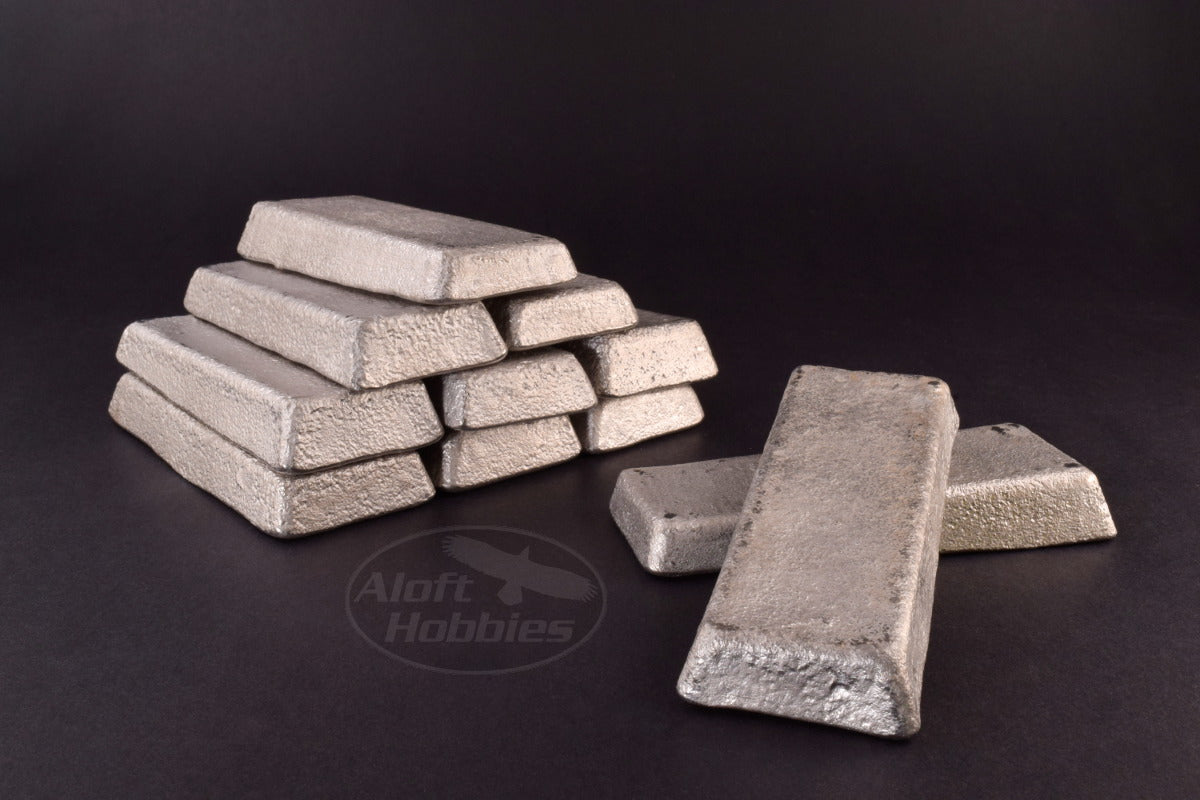
Woods metal!

 alofthobbies.com
Use a lighter and melt the woods metal right into the nose of the fuselage. No damage! I love the stuff.

Woods Metal Low Temp Castable Ballast Material
Woods metal is a low melt point eutectic alloy that is an excellent material for casting ballast. This metal is a superior material for casting nose weights, ballast slugs or even keels for model sailboats. What makes this material so useful is it’s incre
Use a lighter and melt the woods metal right into the nose of the fuselage. No damage! I love the stuff.
Yotaman1985
Very Strong User
Ill check that out. I was planning to make a mold with sand and use lead bbs and epoxy for make a nose weight since I have all that stuff but this might be a better option, thanksWoods metal!

Woods Metal Low Temp Castable Ballast Material
Woods metal is a low melt point eutectic alloy that is an excellent material for casting ballast. This metal is a superior material for casting nose weights, ballast slugs or even keels for model sailboats. What makes this material so useful is it’s increalofthobbies.com
Use a lighter and melt the woods metal right into the nose of the fuselage. No damage! I love the stuff.
thenated0g
Moderator
i have some of that stuff. its weird 
thenated0g
Moderator
Definitely better than trying to make a tinfoil mold and than melt some lead and try pouring it. Just weird to have something that looks like molten metal melting in a coffee cup of hot water.
Doc J
Very Strong User
My method:Definitely better than trying to make a tinfoil mold and than melt some lead and try pouring it. Just weird to have something that looks like molten metal melting in a coffee cup of hot water.
I make my nose weight moulds from plaster of Paris or wall filler paste. Just take a paper cup and fill it 75% full of wet plaster or filler, then push the nose of the model into it. Please give it a little jiggle to make sure there are no bubbles. It's good to give the nose of the plane a bit of Vaseline first to make an easy exit. Wait until it hardens, and then remove the plane.
Hey presto, a reusable mould.
But you HAVE to make sure the mould is absolutely dry before pouring lead, or it will spatter on you, and that, trust me, is NOT recommended. Wood's metal would be fine, though. Don't forget to go a bit light on the lead or wood's metal weight. It's easier to add weight than to remove it.
Doc.
thenated0g
Moderator
thats a great idea doc. didnt think of that. guess i need some plaster.
I just had a crazy idea i need to test.
EPP melting point: 266 to 312
Woods metal melting point: 158°F
I just had a crazy idea i need to test.
EPP melting point: 266 to 312
Woods metal melting point: 158°F
Doc J
Very Strong User
That's going to work, Nate, but how do you get the cavity in the EPP to be correctly shaped?thats a great idea doc. didnt think of that. guess i need some plaster.
I just had a crazy idea i need to test.
EPP melting point: 266 to 312
Woods metal melting point: 158°F
I like it though!
Doc.
thenated0g
Moderator
Well right now, after verifying how much weight i need, i cut out a cavity and than ill dump in some lead BBS that i have mixed up with epoxy or gorilla glue first. With woods metal i guess i could just glop it in. The one thing that is harder for me with woods metal though is how do you know exactly how much weight you are putting in without getting out a hack saw and cutting chunks off to weigh them before melting. That's why my preferred way is bb's.
I pre cut the woods metal to the weight I need, adding a little bit. If/When I get too much woods metal in I just use a drill and small bit to remove some for fine tuning. Assuming that you can get to it... If I don't think I'll be able to get to it I don't add any extra...
You can get pretty darn close that way.
You can get pretty darn close that way.
thenated0g
Moderator
what do you use for cutting it?
Nate you gave me an idea.. It hurt a lot! With EPP, can we simply melt the woods metal onto the foam without making a cavity? Would it flow into the pores of the foam?
No need to pre measure the woods metal in my experience. Simply melt some into the cavity, stop, check the CG, and repeat until desired CG is obtained. I did this with the BOW, a balsa kit and it worked great. This goes fast as the metal cures to solid state pretty quick, and a new melt sticks well to an older melt.
Another advantage is the melted alloy is able to flow into very small spaces, thus less total weight may be possible as you might be able to get it further forward than you would with other methods.


