thenated0g
Moderator
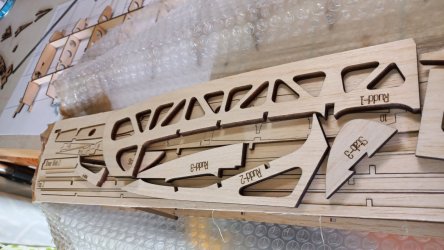
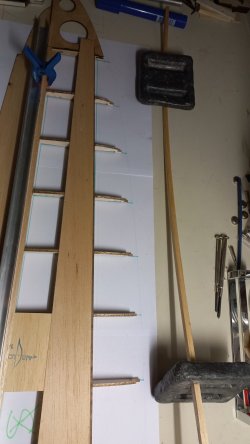
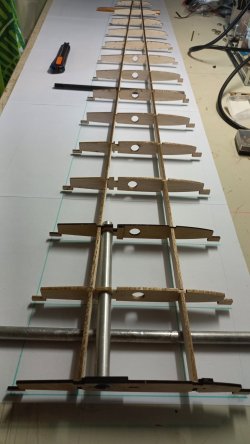
I like those little rectangles that keep the wing straight while building.
I've been flying it in Picasim. fun planeVery nice that you guys are doing this project. If it helps anyone that doesn’t already know, the Picasim slope simulator has a Quartz model that is a lot of fun to fly, especially on the main ocean cliff site of Picasim. To keep your thumbs warmed up waiting for this kit.
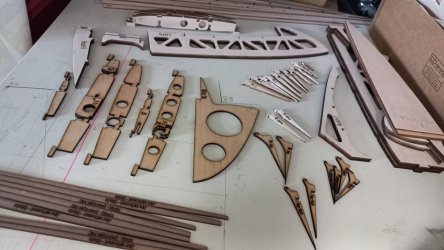
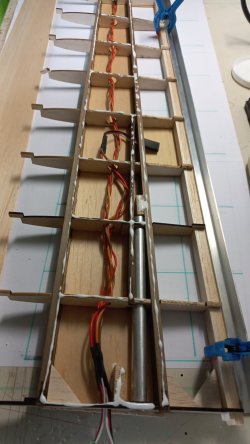
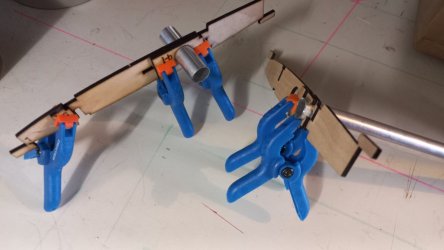
") Will have to glue all this now.
Will have to glue all this now.")
Not sure but looks like it would be worth the coronary. From some of the frames it seems like they must be able to get most of the way there in vehicles.That slope is epic! How much of a hike is it to get there?
Yep - helicopters...Not sure but looks like it would be worth the coronary. From some of the frames it seems like they must be able to get most of the way there in vehicles.
4 different slopes in this video, all between 30 minutes and 1h of hiking. I loooove flying in spots I reach by hiking. Luckily I have a good health.That slope is epic! How much of a hike is it to get there?
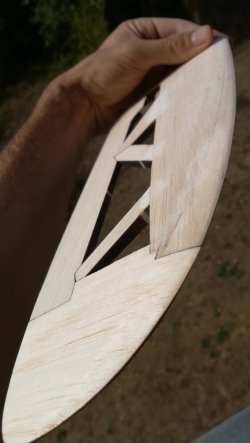
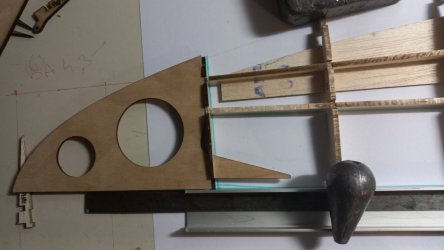
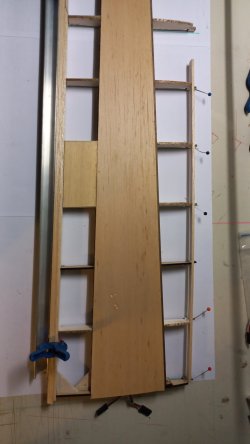
@Stephane you cover the stab, does it need to get sanded to bring it to shape or isn't it it a profile? only flat?
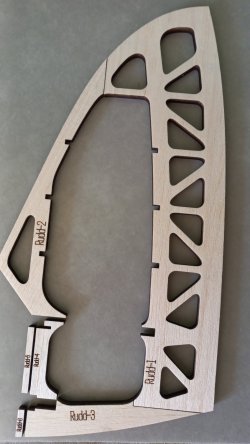
will the rudder also be covered with balsa?
@ the wing section: only wood or some carbon spar at the top and bottom or even later some sheeting with glass?
I forgot to mention: even more epic when you know that Steve Lange was holding the camera and François Cahour lead us to these slopes! Amazing memories with those 2 amazing passionated pilots!That slope is epic! How much of a hike is it to get there?

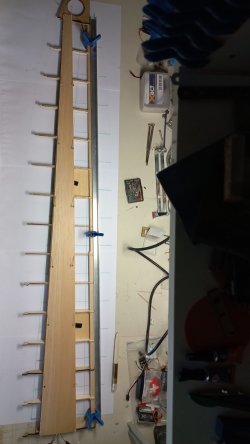


yeah but what does @Stephane mean when he says the previous design does need more care and time to assemble?Looking good. The simplified design sure is easier to understand. Nice and clean.
It's true the new design has nothing special, but the old one was.... totured? Look at the previous wing building pictures here.yeah but what does @Stephane mean when he says the previous design does need more care and time to assemble?

All this will be detailed in building instructions, which are under writing in the very same time I build.it is blended there is no 90° corner of rib n spar, you have to build up over some 1:1 plan or is the ruler method easy, you did coloured marks on the workbench to get the overall alignment. would you recommend to work with pins? or just align and then CA?
Thank you Wayne!Looking good. The simplified design sure is easier to understand. Nice and clean.
Tortured but beautiful! Wow! So nice and clean.It's true the new design has nothing special, but the old one was.... totured? Look at the previous wing building pictures here.