apriliamille
User
Well figured I would share my attempt at building this model. I got the Cubic this year from Aloft
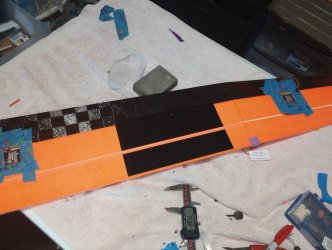
I have never built something targeting at the precision of building like this. Others might say "pfft child's play" but its new to me as my prior build experience has been building 25 percent to 35 percent yaks, extras, edges etc etc. So here it goes. This is gonna be a slow build so i dont mess up and i still have to work
Initial measurements and thoughts i have on gear
total kilogram 0.994
plane 0.691
Fuse 0.078
RW 0.252
LW 0.246
Rudder 0.023
Boom 0.03
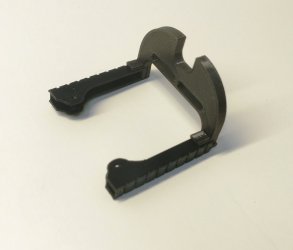
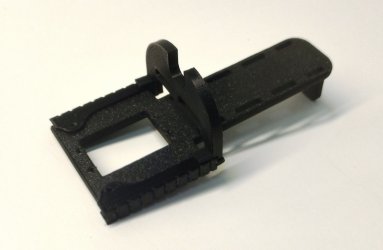
Parts bag 0.062
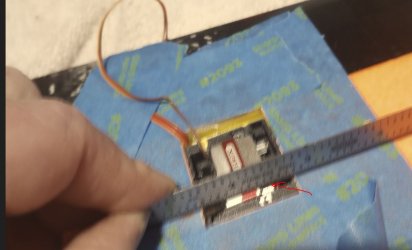
electrics 0.303
kst x6 0.06
motor 0.072 (tbd pending how much weight i need to cg the plane i will order motor of appropriate weight)
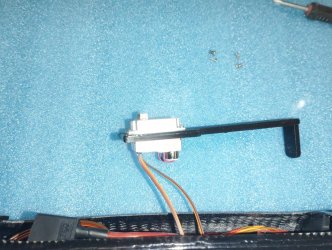
rx 0.01 TW R10 (this glider looks to have a pure carbon fuse so i want the 3 antennaes to go out of the fuse)
esc 0.028 talon 35
Spinner 32 0.013
props 0.006
3s 1000 ? 0.069
noobie misc 0.03 (glue, wire)
castle bec 2 6-8v 0.015 (why not. its some added weight but im intrigued of actually having servos that can handle some voltage beyond an esc bec
I have never built something targeting at the precision of building like this. Others might say "pfft child's play" but its new to me as my prior build experience has been building 25 percent to 35 percent yaks, extras, edges etc etc. So here it goes. This is gonna be a slow build so i dont mess up and i still have to work
Initial measurements and thoughts i have on gear
total kilogram 0.994
plane 0.691
Fuse 0.078
RW 0.252
LW 0.246
Rudder 0.023
Boom 0.03
Parts bag 0.062
electrics 0.303
kst x6 0.06
motor 0.072 (tbd pending how much weight i need to cg the plane i will order motor of appropriate weight)
rx 0.01 TW R10 (this glider looks to have a pure carbon fuse so i want the 3 antennaes to go out of the fuse)
esc 0.028 talon 35
Spinner 32 0.013
props 0.006
3s 1000 ? 0.069
noobie misc 0.03 (glue, wire)
castle bec 2 6-8v 0.015 (why not. its some added weight but im intrigued of actually having servos that can handle some voltage beyond an esc bec
Last edited:

")
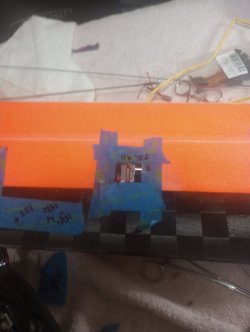
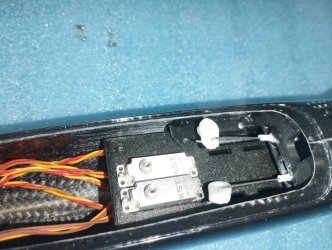
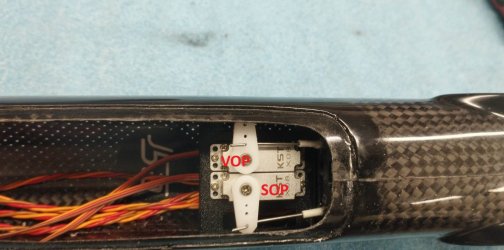
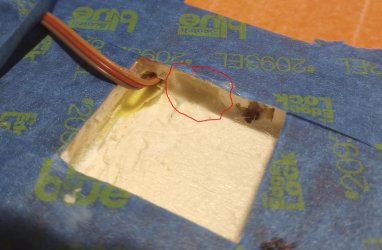
 Messy if you are not very careful.
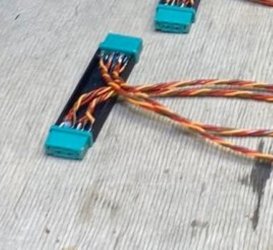
 and i got TONS of motors and it never crossed my mind