What's new
Aloft Forums

Welcome to Aloft Forums. Register a free account today to become a member! Once signed in, you'll be able to participate on this site by adding your own topics and posts, as well as connect with other members through your own private inbox!

Aeronaut Flixx build

Dryheat

User
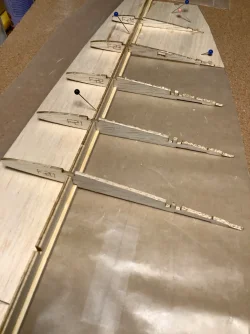
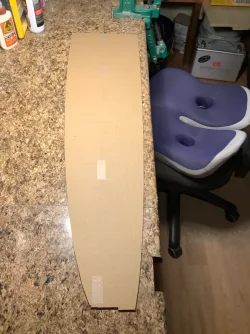
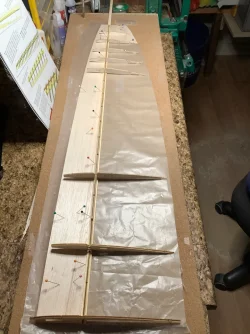
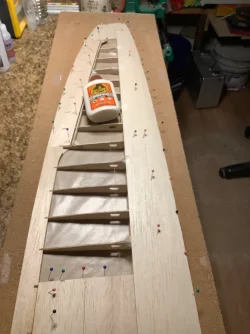
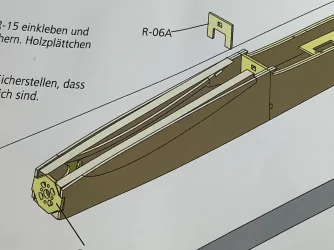
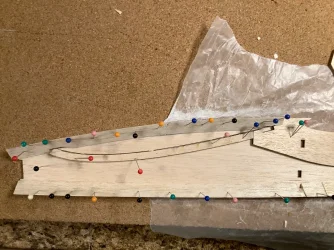
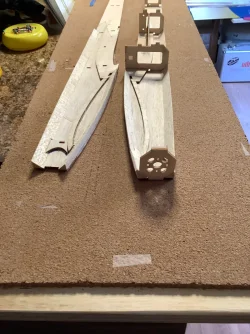
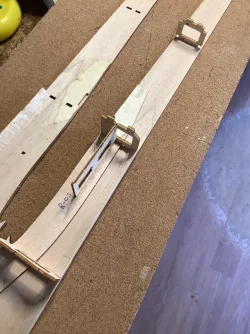
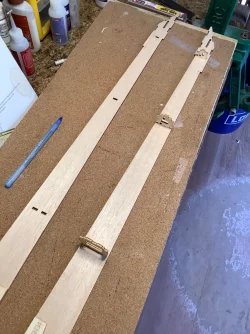
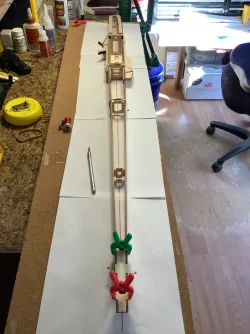
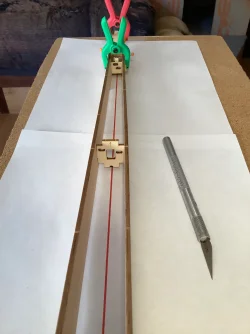
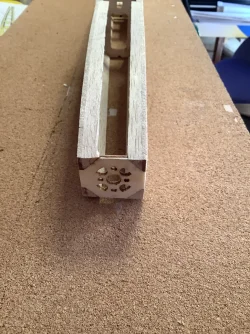
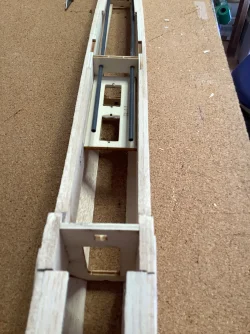
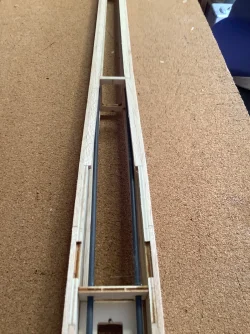
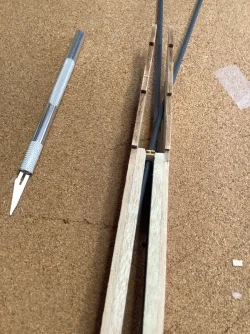
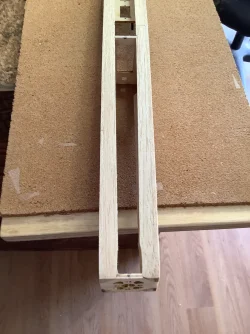
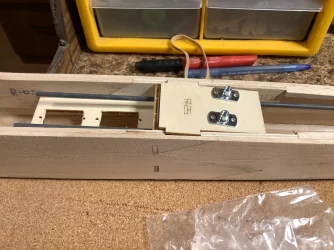
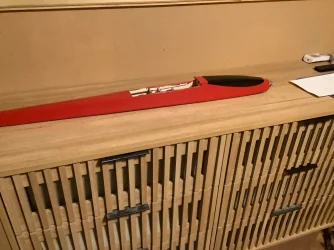
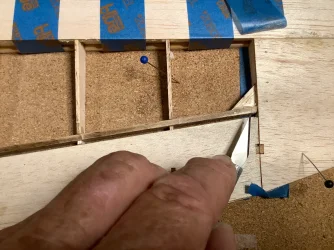
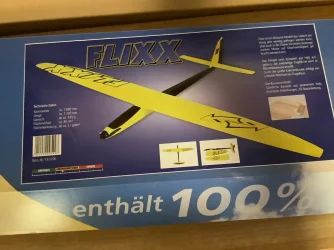
Another purchase from Aloft. After gluing the pine main spare to the leading edge bottom sheeting the plans call for gluing the sheer web piece F-03. Needs to be exactly center so I dry fitted ribs over it to self center. After sheer is glued the whole wing half gets built on top of the cardboard two piece jig supplied. Tape the two pieces together and cover with wax paper. From there it’s easy. Just pin down the trailing edges and glue on the ribs. I suggest dry fitting F-04 before gluing ribs 9 and 10. My first German kit. Interesting the balsa is different. Alittle stiffer and stringy. Good quality.
 

Attachments

  • IMG_1317.webp
    IMG_1317.webp
    244.7 KB · Views: 86
  • IMG_1316.webp
    IMG_1316.webp
    151 KB · Views: 56
  • IMG_1321.webp
    IMG_1321.webp
    271 KB · Views: 45
  • IMG_1314.webp
    IMG_1314.webp
    213.5 KB · Views: 42
I use regular wood glue to do sheeting. Even thick CA is to fast for me to get it straight and flat. It’s going together pretty ez. I’m using ChatGPT to translate. Works ok.
 

Attachments

  • image.webp
    image.webp
    134 KB · Views: 48
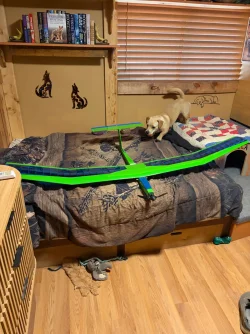
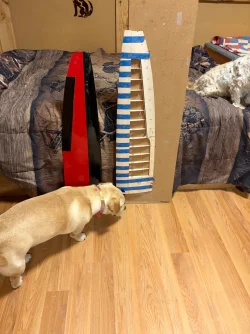
I don’t claim to be to be a good builder however, this tip is important. Don’t leave your wing were your new puppy can work on it!!! No worries. The left wing is done and I’ll work on the fuselage until I get another kit.
 

Attachments

  • IMG_2325.webp
    IMG_2325.webp
    616.3 KB · Views: 43
  • IMG_2204.webp
    IMG_2204.webp
    286.1 KB · Views: 41
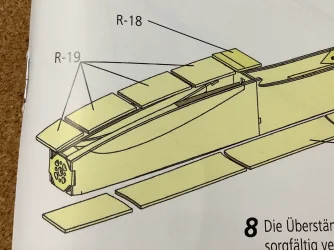
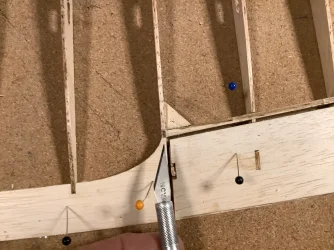
The triangle stock on hatch has to be curved. Duh! This first picture shows it flat. The next curved. Soak it a bit.
 

Attachments

  • IMG_1328.webp
    IMG_1328.webp
    237.3 KB · Views: 32
  • IMG_1329.webp
    IMG_1329.webp
    269.4 KB · Views: 27
  • IMG_1330.webp
    IMG_1330.webp
    380.6 KB · Views: 34
Ez pizzy
 

Attachments

  • IMG_1337.webp
    IMG_1337.webp
    339.2 KB · Views: 26
  • IMG_1338.webp
    IMG_1338.webp
    380.9 KB · Views: 24
  • IMG_1339.webp
    IMG_1339.webp
    410.4 KB · Views: 24
  • IMG_1340.webp
    IMG_1340.webp
    195 KB · Views: 21
  • IMG_1341.webp
    IMG_1341.webp
    104.7 KB · Views: 24
  • IMG_1342.webp
    IMG_1342.webp
    413.2 KB · Views: 20
  • IMG_1343.webp
    IMG_1343.webp
    294.4 KB · Views: 19
  • IMG_1344.webp
    IMG_1344.webp
    408.7 KB · Views: 18
  • IMG_1345.webp
    IMG_1345.webp
    482.4 KB · Views: 21
  • IMG_1346.webp
    IMG_1346.webp
    299.5 KB · Views: 34
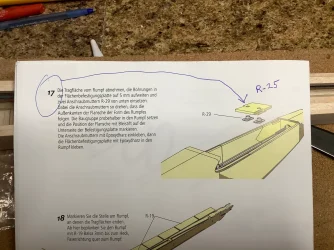
Step 17 picture is deceiving. The plate for blind nuts is R-25.
 

Attachments

  • image.webp
    image.webp
    283.9 KB · Views: 29
  • image.webp
    image.webp
    256.1 KB · Views: 30
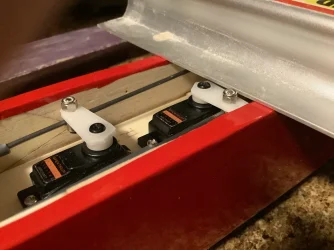
The nut is about 3/32 to high. I guess I’ll just have to do z-bends again. I struggle to get those just right. Oh well. I suggest setting the servo tray 1/8 lower. Move the push rod tube lower also.
 

Attachments

  • IMG_1356.webp
    IMG_1356.webp
    271 KB · Views: 20
  • IMG_1355.webp
    IMG_1355.webp
    209.3 KB · Views: 31
Maybe another Style of ez connector? Like the du-bro ones. They might be lower and could help solve your problem.

Hank
 
Not this time puppy. Pay close attention to getting the height of this F-28 to match the sheeting. Also the tip of that curved sheeting breaks super ez. I like these hinges. I fold them and make a crease. For the Gentle Lady EVO I cut them in half. Lots of tape to get that sheeting on just right without wrapping.
 

Attachments

  • IMG_2369.webp
    IMG_2369.webp
    264.1 KB · Views: 19
  • image.webp
    image.webp
    691.7 KB · Views: 20
  • image.webp
    image.webp
    472 KB · Views: 14
  • image.webp
    image.webp
    342.7 KB · Views: 13
  • image.webp
    image.webp
    277.9 KB · Views: 13
Back
Top