What's new
Aloft Forums

Welcome to Aloft Forums. Register a free account today to become a member! Once signed in, you'll be able to participate on this site by adding your own topics and posts, as well as connect with other members through your own private inbox!

56” Gentle Lady EVO build.

Dryheat

User
Greeting Fliers, I’m Mike A. New to your forum. Just ordered this kit. I’ve been building and flying on and off for decade. Never got good at either. I’m an old fart now so I have to keep thing slow. And big enough to see. I really enjoy building balsa kits. A real sense of accomplishment when you fly a plane you made from a box of sticks. Can’t wait to get started. I’ll post build updates. Cheers.
 
Looking forward to watching your build. The instructions are a little rough around the edges, I had planned to comb through them and do some final editing and expanding in some areas. So any questions or feedback is VERY WELCOME. Please let me know if you have an confusion along the way. I'd like the kit easy enough for a first time builder to tackle it.

Also, seems the QR code for the build manual may have timed out. here is a link for you:

Build Manual​

If you can, just use a screen rather than printing it out. This way any changes we make will be live on your screen. :)
 
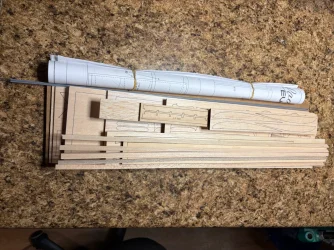
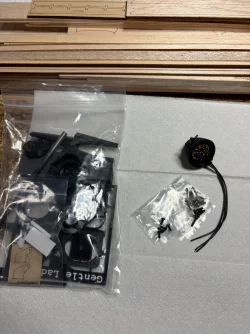
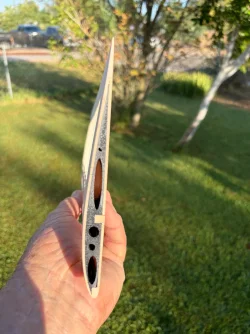
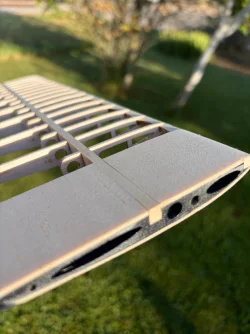
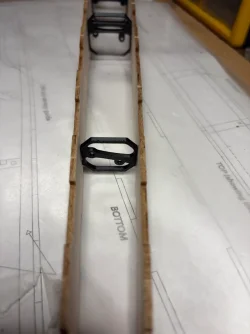
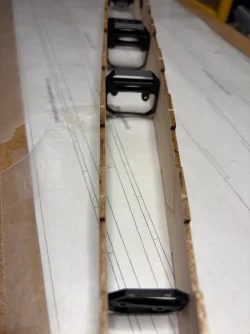
Got the kit today. Getting sorted out. My first laser cut. Nice.
.
 

Attachments

  • IMG_2208.webp
    IMG_2208.webp
    424 KB · Views: 68
  • IMG_2209.webp
    IMG_2209.webp
    220.7 KB · Views: 55
Last edited:
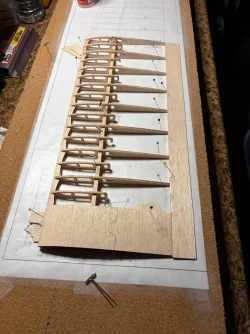
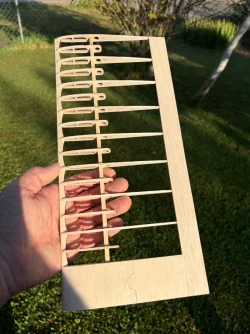
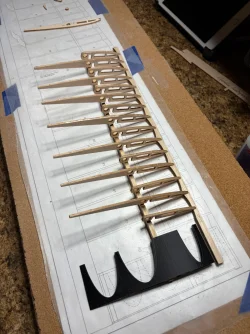
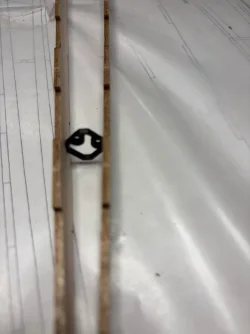
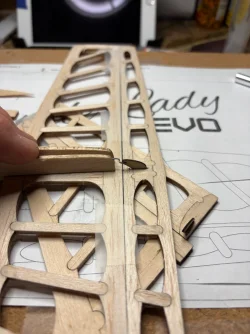
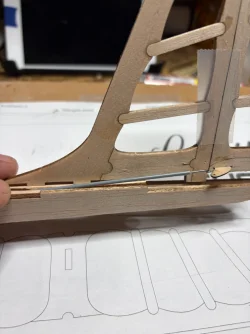
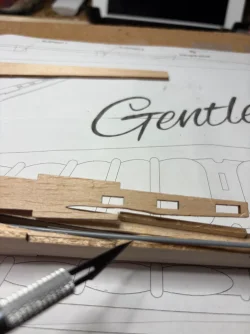
Right inner section. Followed online build manual to the letter and went together exactly correct. Looks like I could have done better with the bottom sheeting at the leading edge. I did break the back of two of the half ribs (pic), very fragile. Ez fix. Large Gentle Lady EVO decal not in the kit.
 

Attachments

  • IMG_2210.webp
    IMG_2210.webp
    220.2 KB · Views: 35
  • IMG_2211.webp
    IMG_2211.webp
    200 KB · Views: 44
  • IMG_2212.webp
    IMG_2212.webp
    132.8 KB · Views: 41
  • IMG_2220.webp
    IMG_2220.webp
    115.3 KB · Views: 44
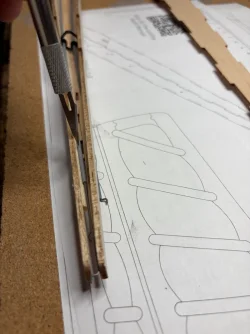
I found it’s much more ez to put all the ribs on the leading edge first. Then push them down onto the main spare. Get it all aligned and pin it down in prep for glue.
 

Attachments

  • IMG_2223.webp
    IMG_2223.webp
    218.1 KB · Views: 44
Looks great. Keep posting your progress. Kit is sold out so it must be popular. Maybe Aloft will consider blowing it up to a full 2 meter. 👍😊
 
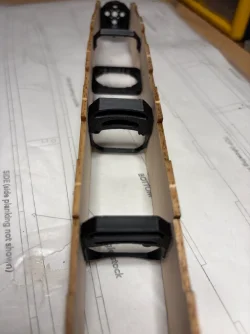
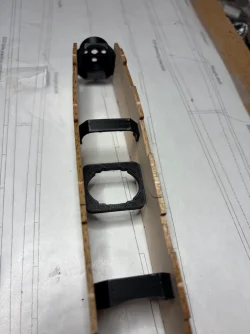
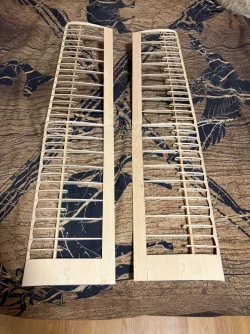
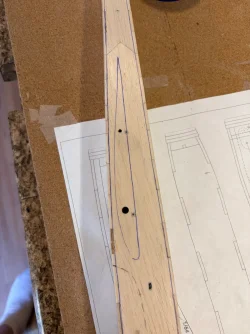
Wings are done. Laser cut is so ez to dry fit then glue. BULKHEADS! Alittle tricky to figure out. The parts aren’t numbered. The manual has some poor pictures. Took me awhile to get it. The servo try has the word FRONT on it but not TOP. I chose to install it in the high position. The picture are looking down at the top of the fuse.
 

Attachments

  • IMG_2235.webp
    IMG_2235.webp
    39.9 KB · Views: 42
  • IMG_2234.webp
    IMG_2234.webp
    54.8 KB · Views: 38
  • IMG_2233.webp
    IMG_2233.webp
    59.5 KB · Views: 34
  • IMG_2232.webp
    IMG_2232.webp
    65.2 KB · Views: 38
  • IMG_2231.webp
    IMG_2231.webp
    79.5 KB · Views: 36
  • IMG_2230.webp
    IMG_2230.webp
    60 KB · Views: 44
  • IMG_2228.webp
    IMG_2228.webp
    441.1 KB · Views: 44
Awesome - and great feedback. Will look to improve the manual in these areas.

Don't worry about the wing sheeting at the center. That will not hurt a thing.
 
Some pictures of how I did the push rod tubes. First the elevator which comes straight out the rear of the fuse. I puta drop of glue right there as it was resting on the triangle stock and made it a bit more rigid. Rudder I cut alittle more than the manual and glued the tube right there.
 

Attachments

  • IMG_2245.webp
    IMG_2245.webp
    118.8 KB · Views: 40
  • IMG_2246.webp
    IMG_2246.webp
    90.2 KB · Views: 39
  • IMG_2243.webp
    IMG_2243.webp
    105.5 KB · Views: 38
  • IMG_2251.webp
    IMG_2251.webp
    72 KB · Views: 49
There is something going on here that we as builders and customers should never take for granted. The designer of the glider, company owner being right here on the forum taking an interest in how first builders are doing. Offering advice and encouragement. This level of service is why Aloft has such loyal customers.
 
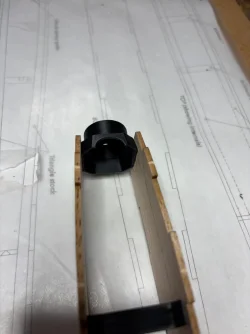
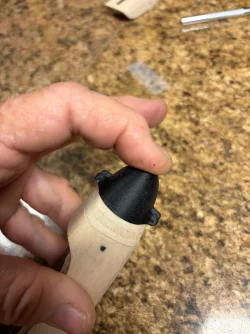
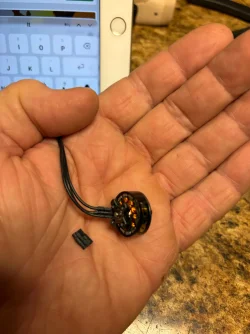
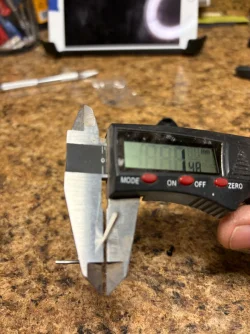
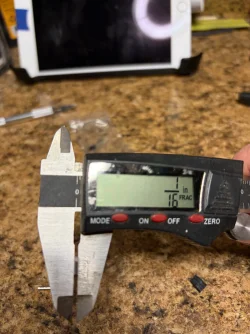
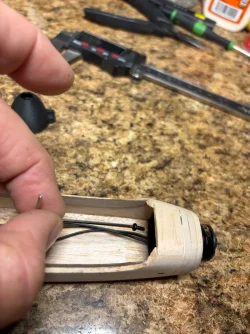
Test fit motor and spinner to check my sanding. The motor comes with lots of screws. I found 1/4” was best. The screw holes in the mount are tight. I opened them up with a 5/32 bit. I removed the shrink wrap holding all three wires together. It made it to fat to fit through the hole. Lastly the screws are Allen. I’m not sure if 1/6 or 1.5mm. My little 2” wrench sure made it difficult the get in there. A longer one would be great.
 

Attachments

  • IMG_2262.webp
    IMG_2262.webp
    141.9 KB · Views: 42
  • IMG_2261.webp
    IMG_2261.webp
    118.8 KB · Views: 38
  • IMG_2258.webp
    IMG_2258.webp
    170.7 KB · Views: 34
  • IMG_2259.webp
    IMG_2259.webp
    152.4 KB · Views: 31
  • IMG_2260.webp
    IMG_2260.webp
    190.7 KB · Views: 39
A heads up. I got some kind of debris in the elevator push rod after it’s permanently installed. Was a booger to get it out. Compressed air. Next time I’ll tape them up.
 
I usually pull the inner pushrods out of the pushrod housing while working on it. I typically leave the housings long until I'm doing the final linkage setups.

Yeah, the supplied screws are 1.5mm.
 
This week we upgraded the spinner after a customer managed to heat things up on an extended bench test. More cooling holes and tougher, higher temp material.
Adtb1azx.webp

Future kits will be getting a new material motor mount to easily handle any temp concerns. If you have already bought a kit and would like the new motor mount, let us know and we will drop it in the mail to you. contact@alofthobbies.com The new spinner is not needed, we just wanted to allow a little more air into the motors for those hot New Mexico summer days.
 
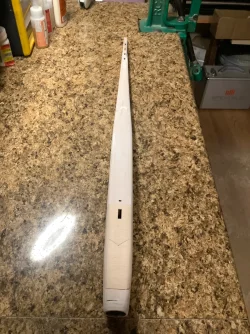
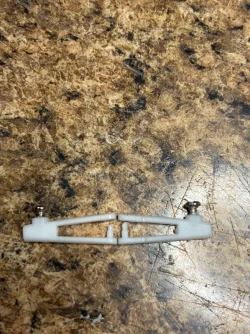
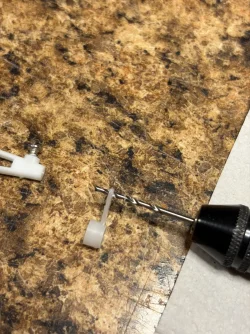
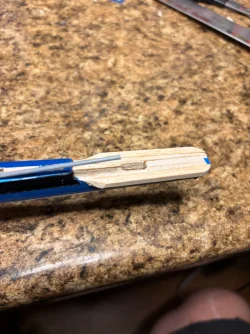
Fuselage sanded and ready for covering. The little mushroom head is missing on the clevis. Think I’ll put some shrink wrap over it once installed. I cut the first hole of the servo control arm off to shorten it a little. The hole in the arm is to small I used a 1 /16 bit to open it up.
 

Attachments

  • IMG_1289.webp
    IMG_1289.webp
    415.8 KB · Views: 20
  • IMG_2267.webp
    IMG_2267.webp
    511.9 KB · Views: 28
  • IMG_2268.webp
    IMG_2268.webp
    399.5 KB · Views: 31
I have to say I’ve had a tough time getting the horizontal stab on the fuselage. It really stems from not being careful enough when I put the end of the fuselage together. I just didn’t pay enough attention to detail and got it alittle crooked. The small surface area of the back of the fuse just frustrated me so I did a bad/ugly thing. I put the wings on to get a good visual of level and used 30 minute epoxy. It’s pinned, taped and drying now. Fingers crossed.
 

Attachments

  • IMG_2278.webp
    IMG_2278.webp
    193.7 KB · Views: 26
  • IMG_2279.webp
    IMG_2279.webp
    206.9 KB · Views: 29
For the record I hate those clevises. Rafael loves them, they have many issues and are less than ideal! I suggest heat shrink and glue if you are going to use them. I personally put z-bends at both ends.
 
For the record I hate those clevises. Rafael loves them, they have many issues and are less than ideal! I suggest heat shrink and glue if you are going to use them. I personally put z-bends at both ends.
Good. I’ll do z bends both ends. The tail dried up nice n straight. Now on to the guts. I’m getting close !
 
Back
Top